
Life insurance needs often change as your income, family responsibilities, debts, and long-term goals change.
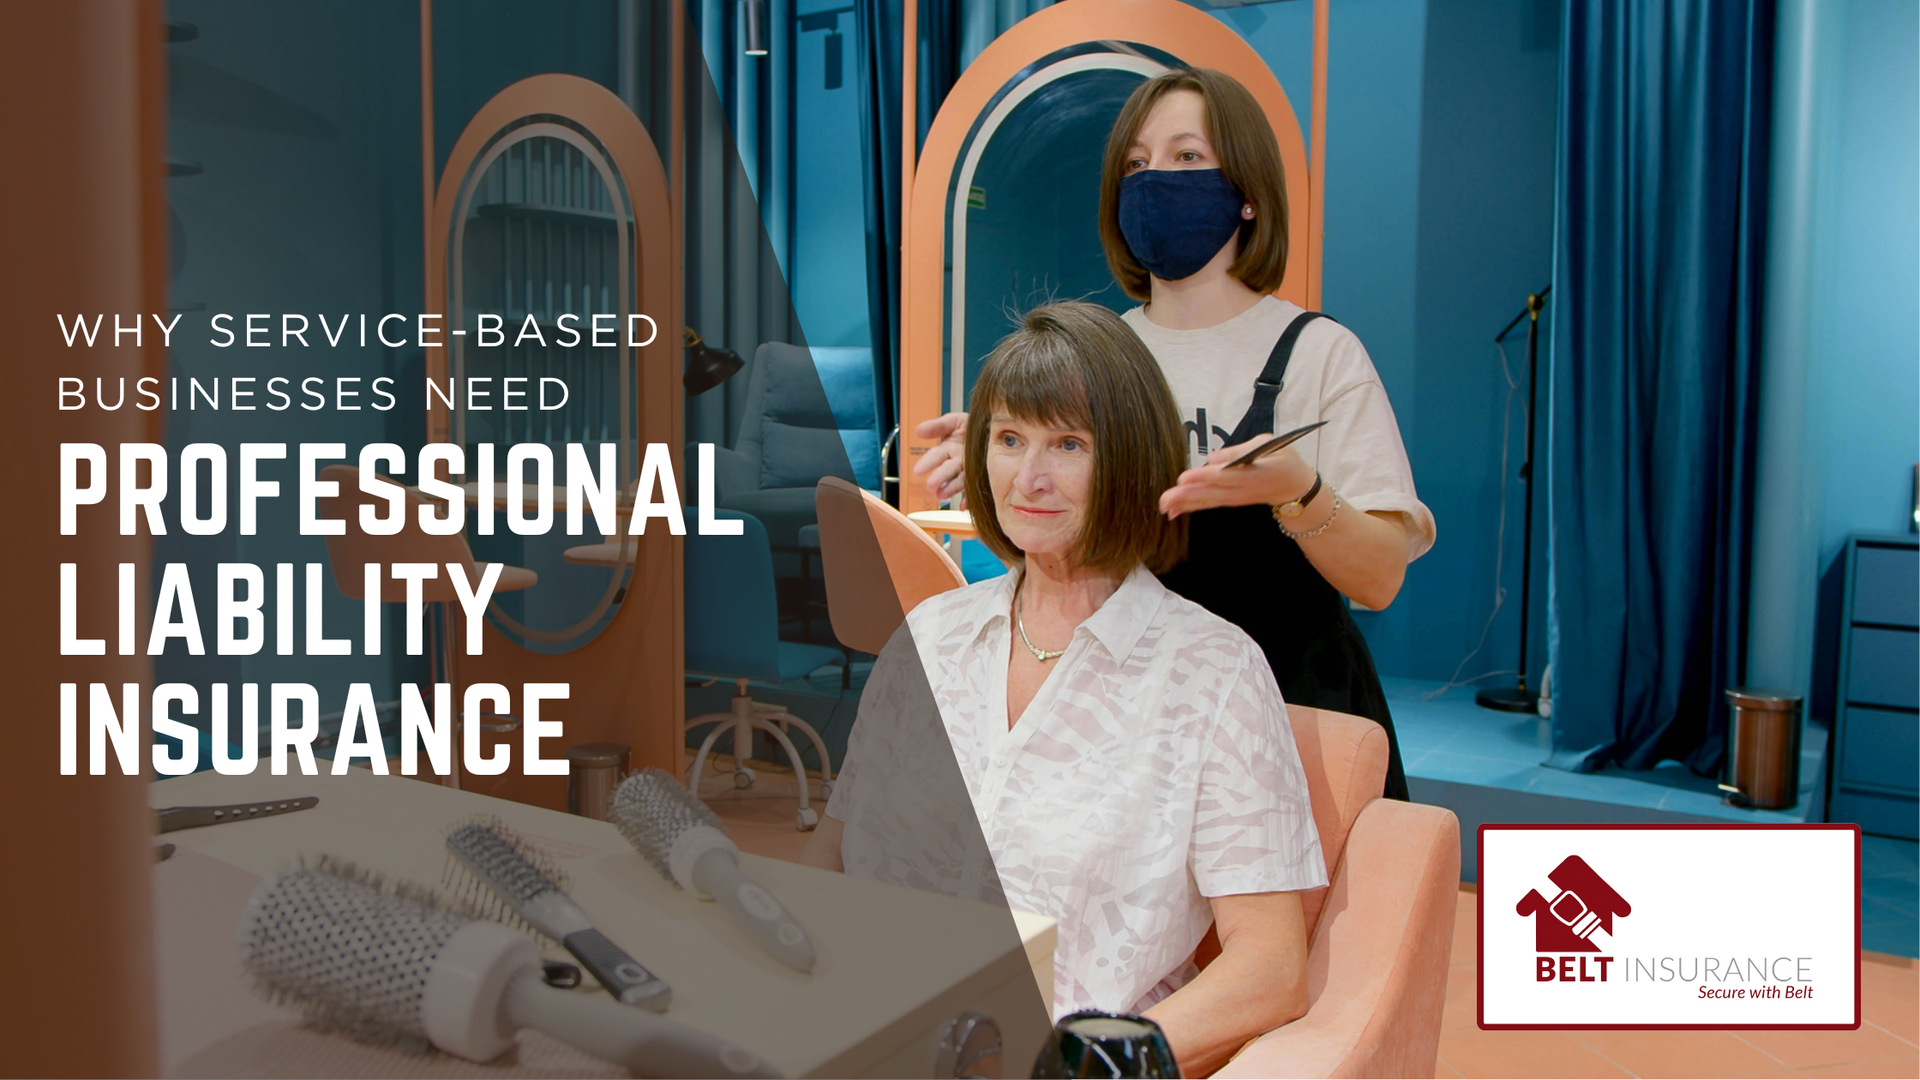
Service-based businesses are trusted for advice, expertise, recommendations, planning, and specialized work.
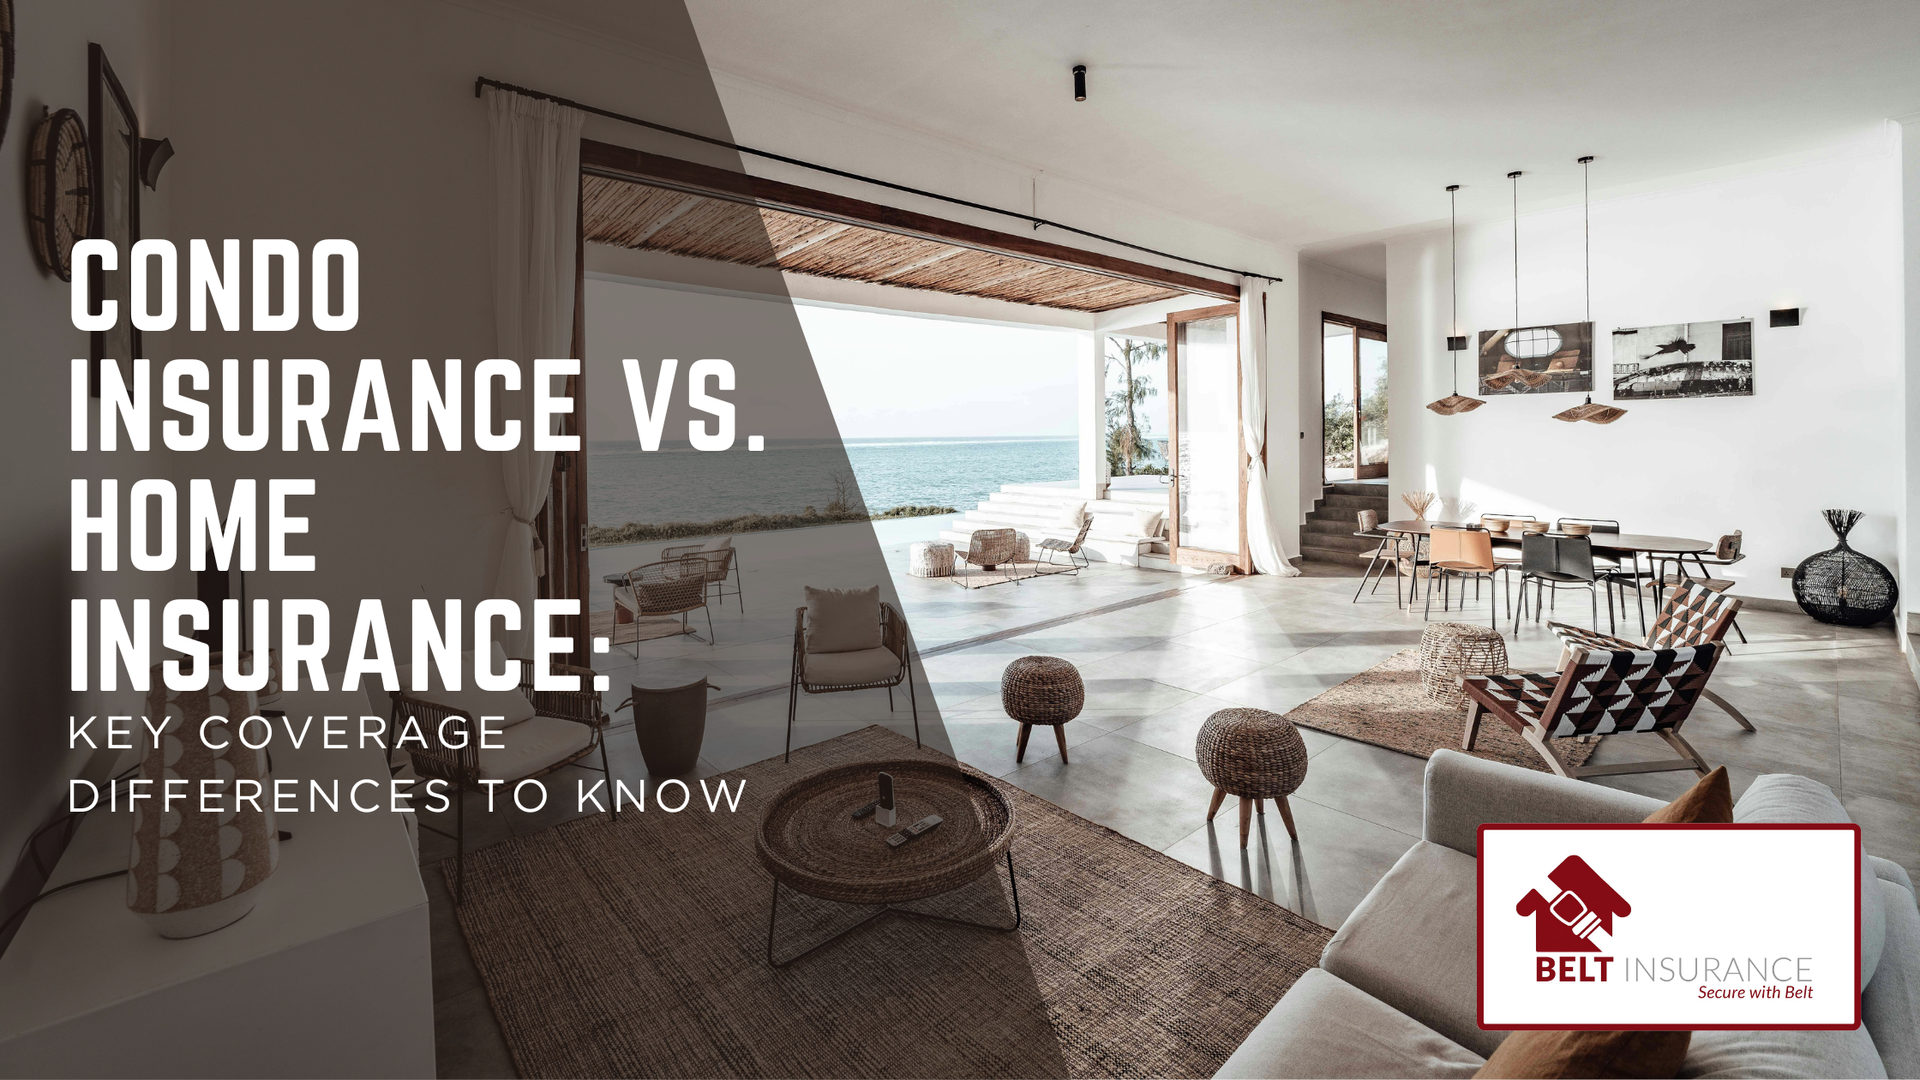
Condo insurance and home insurance may seem similar because both help protect where you live and the belongings inside it. For residents in
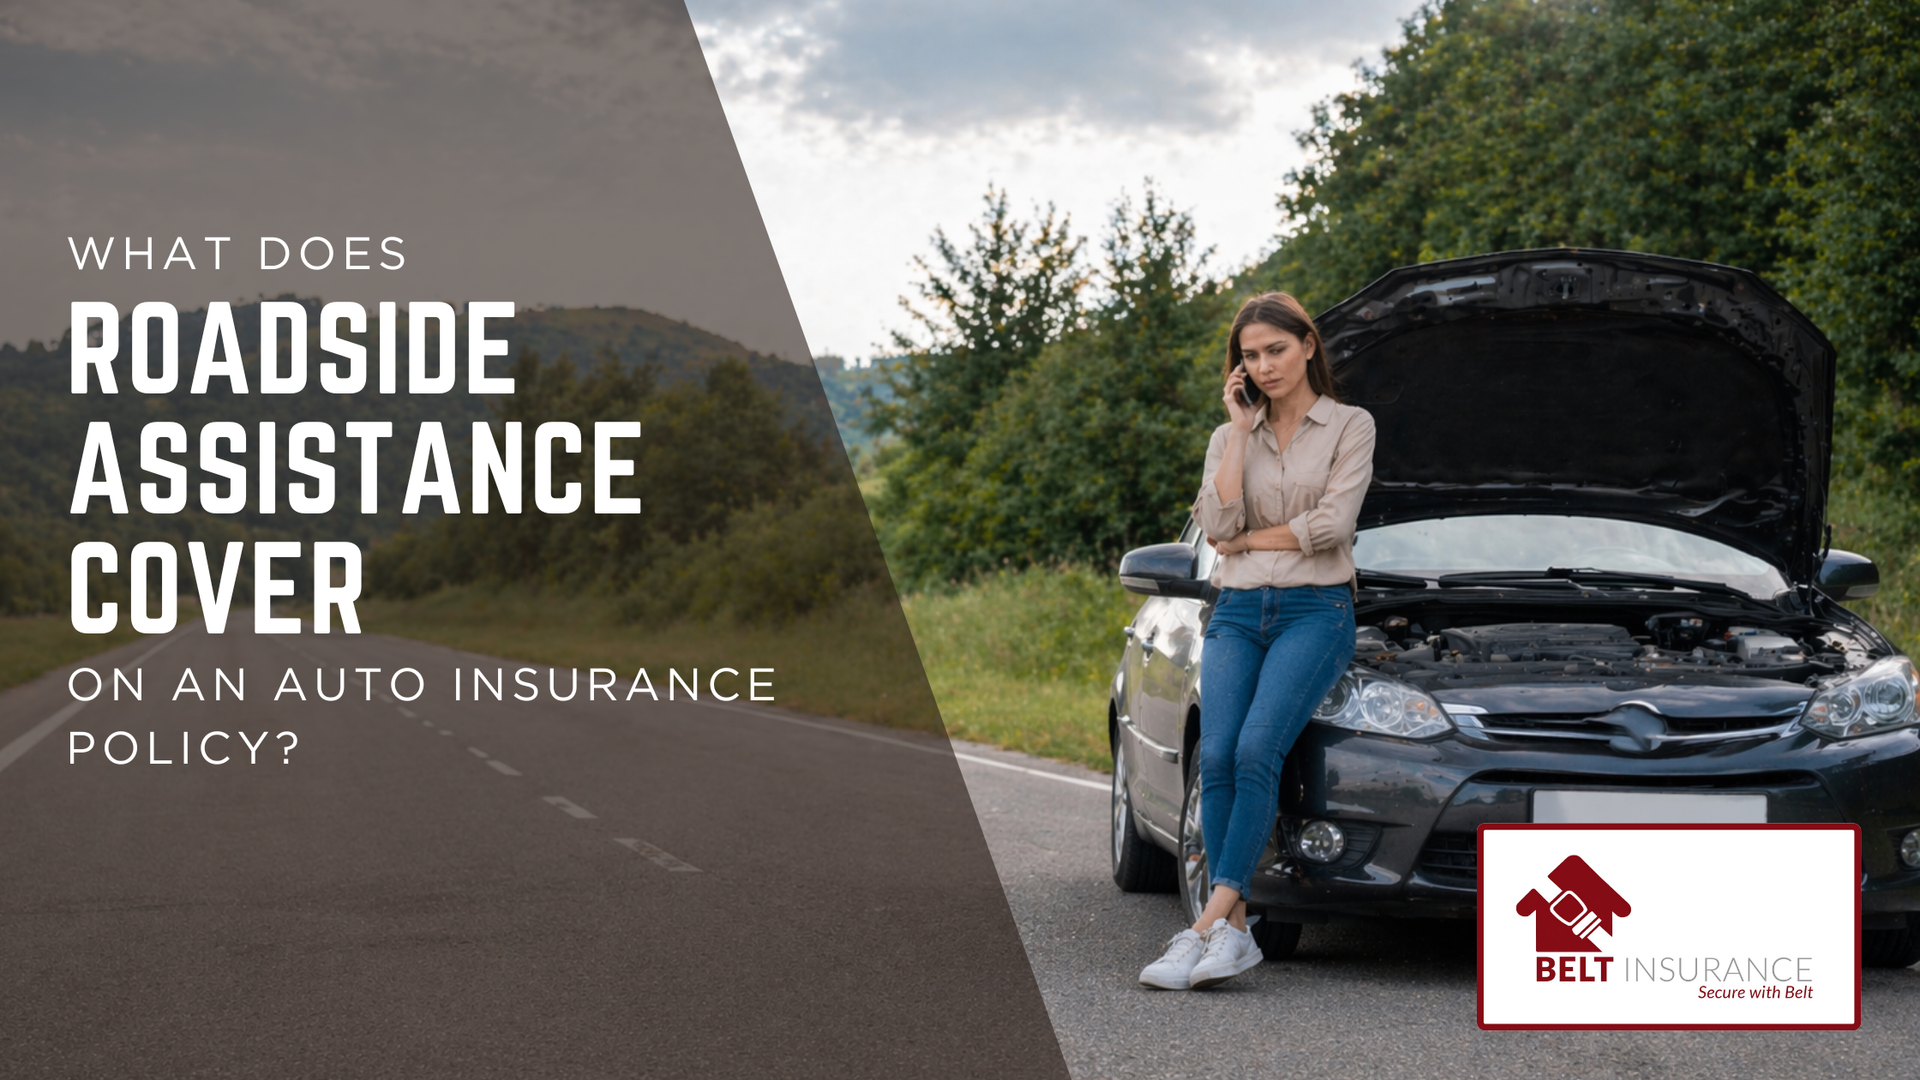
Roadside trouble rarely happens at a convenient time, and even a small issue can disrupt your day quickly. For drivers in Pataskala, OH, roadside assistance can be a useful auto insurance add-on because

Life insurance can feel straightforward until you start reading the policy language. For many families in Pataskala, OH, the biggest challenge

Running a small business means making constant decisions about cash flow, staffing, customers, and growth, but insurance often gets attention only after a problem appears.
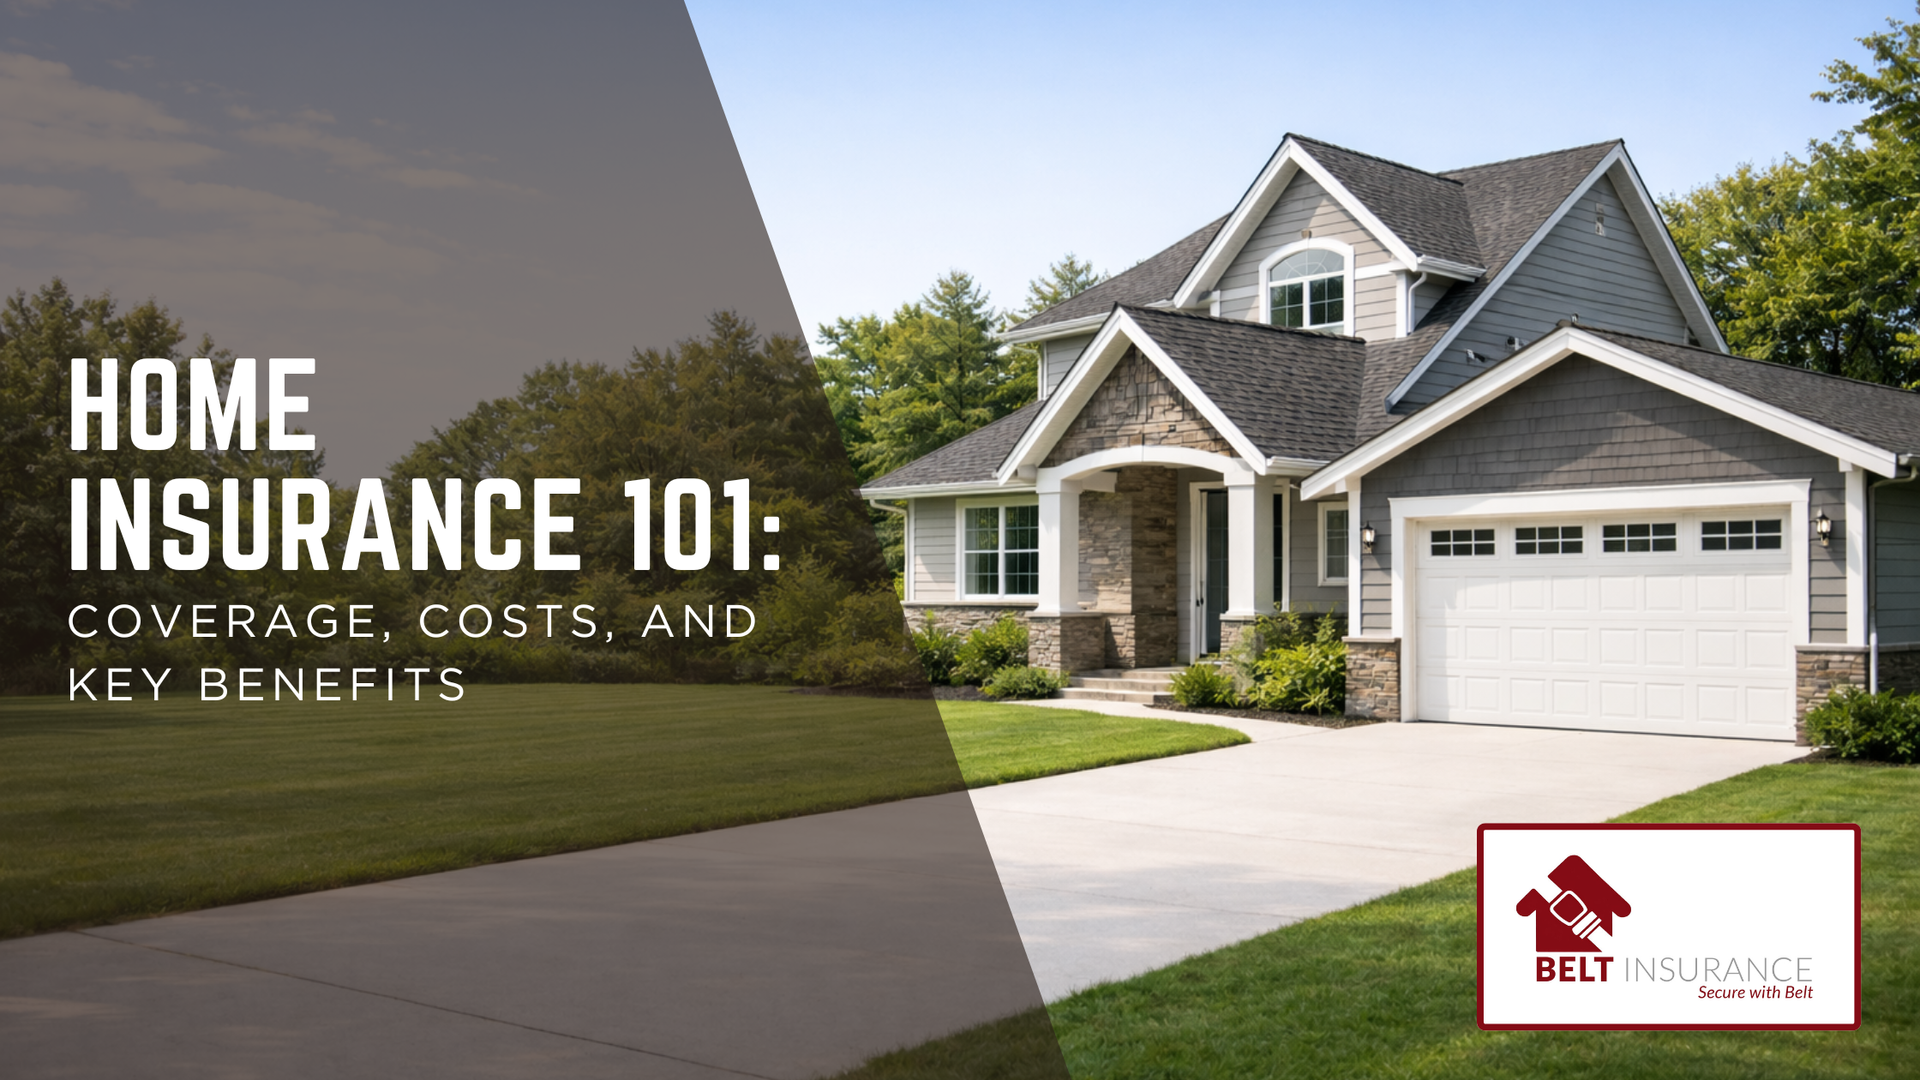
Home insurance helps protect your house, belongings, liability exposure, and additional living expenses after certain covered losses. The right policy can help homeowners recover

Auto insurance helps protect new drivers from the financial cost of accidents, injuries, vehicle damage, and liability claims. The most important thing to understand is that different coverages do different jobs

Welcome to our new insurance agency blog! This is our very first post. We're not quite sure what we're going to write about here, but the plan is to create helpful content for customers and prospective clients about information that is relevant to you. We hope you'll come to view this as a top resource for keeping your family and your finances safe. Here are a few of the topics we may be writing about: Answers to clients' frequently asked questions. Helpful information about insurance shopping. Safety and Health Tips and Ideas. Local Community Information. Stay Tuned!